
We made 3 of these beauties for the Village Venture. They take a little time, but are quite simple to make and, as you can see, pretty stunning. (Ahem…if we do say so ourselves….)
First of all, in the name of giving credit where credit is due, we must say a big thank you to a magazine that featured these wreaths. So, hats off to Better Homes and Gardens! When we saw it, we knew we had to make one (or 5).
The key is to take it one step at a time. (Another key is to have a project bag that you can take places because many of the components for this wreath were made while waiting for kids in piano lessons, kids at riding lessons, kids at doctor’s appointments—you get the picture.)
STEP ONE: SHOP FOR STUFF
Go to your local craft store and basically buy every fiber item you can find in red—at least 2 colors of red felt, 2 colors of red yarn, bumpy chenille stems, pom pom fringe, ribbon and buttons.
STEP TWO: ROSE BUDS
The roses are made by taking strips of felt and folding them in half, lengthwise, and then taking 2 different colors and rolling them together and sewing the whole shebang tight, so it won’t come unraveled.

STEP THREE: POM POMS AND BLOSSOMS
We made lots of pom poms, using large and small pom pom makers. The blossoms were made by wrapping yarn around our hands about 20 times, tying it in the center and hot gluing felt circles and buttons for the center.

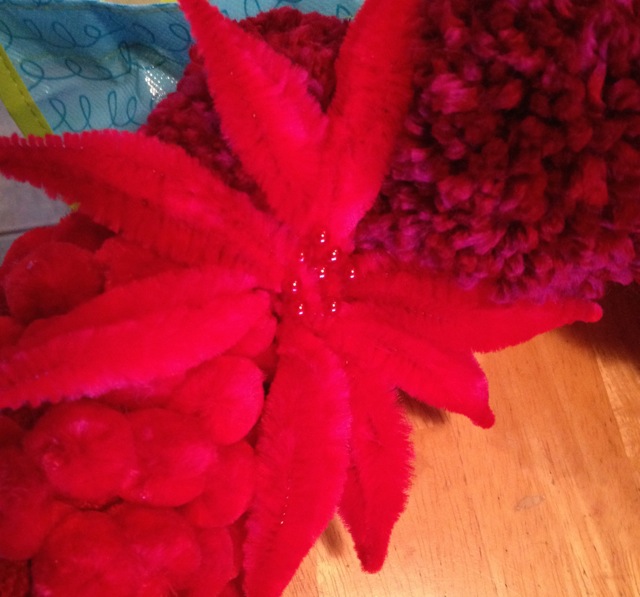
STEP FOUR: CHENILLE POINSETTIA
Isn’t this cool??? You only need one. You take the bumpy chenille stem and fold it from both ends to the center and you end up with 2 leaves of a poinsettia. You make 4 of those and then pin the whole shebang down with lots of red pearl topped pins.
STEP FIVE: PUTTING IT ALL TOGETHER
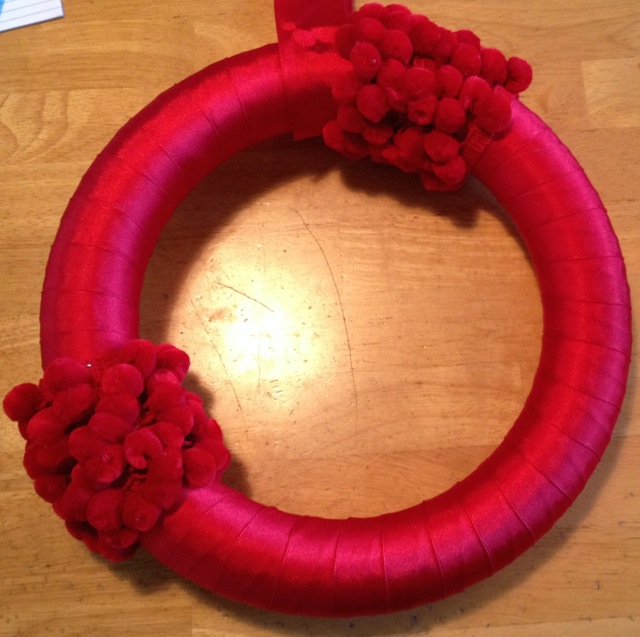
The magazine said to pin it all in place, but we relied heavily on hot glue and liked that better. Start by wrapping the foam base with red ribbon and include a loop for hanging, if you’d like. Then just start placing all that gorgeous redness all over the wreath, starting with the pom pom trim, because that takes up the most space.
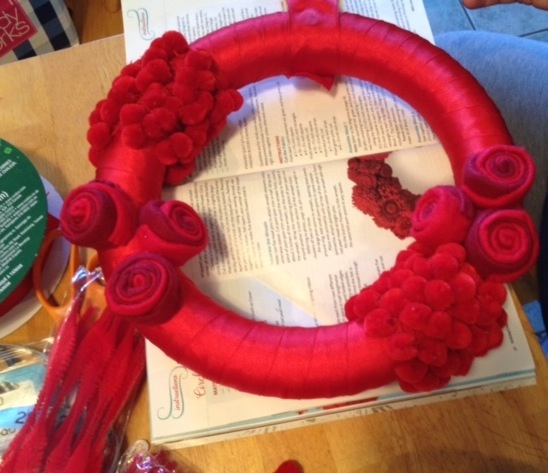
Then maybe add some rosebud clusters……
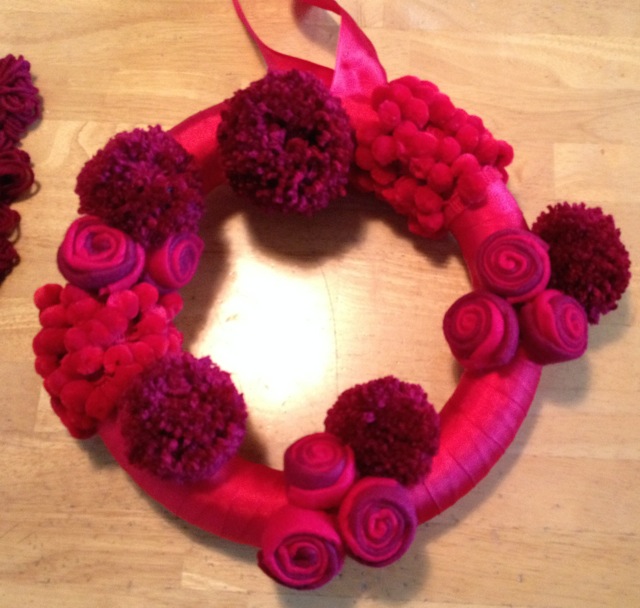
Add the pom poms and the blossoms and, last of all, the poinsettia…..
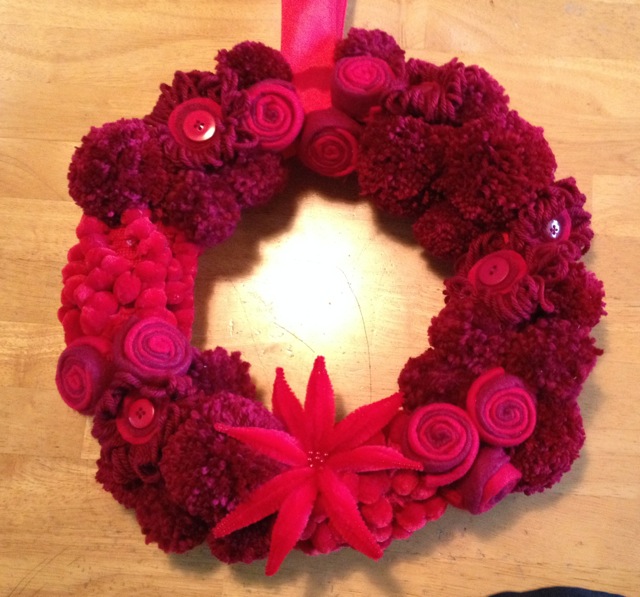
And, before you know it, voila! A beautiful, red wreath to amaze your friends and relatives!
Happy crafting, peeps!

Supplies:
| at least 2 colors of red felt |
ribbon | |
| 2 colors of red yarn | buttons | |
| bumpy chenille stems | red pearl topped pins | |
| pom pom fringe | foam base |
 Shop with Rach Shop with Rach |
 Shop with Sarah Shop with Sarah |