 Okay. So here at Finders Keepers we are all about helping people to get those photos off your phones and into albums for everyone to enjoy. Because, let’s face it: phones break, get lost, lose data and sometimes get dropped in the toilet if you keep them in your back pocket and forget to take them out. (Ah, life’s little lessons……) But scrapbooks are forever. Scrapbooks tell our families that they are worth our time and that the memories we are making every day have value.
And we, like all of you, are also extremely busy.
We have a plan that will allow you to document your year, create an album layout each week in as little as 10 minutes and have loads of fun doing it.
Think of us as your scrapbooking coaches. Or paper and picture besties. Or as Sarah and Rach, those wacky co-dependent, independent Stampin’ Up! demonstrators.
And you know what the best part is? We are beginning the year with things that many of you probably already have.
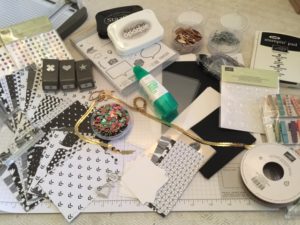
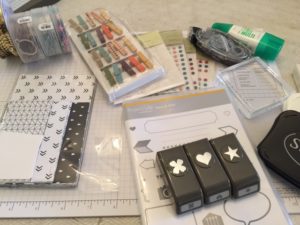
Your task, between now and Saturday, January 3, is to compile some scrapbooking items. We’ve listed what we collected in our kit here, but please don’t be intimidated by the length of our list. We have been crafting for a looooooong time and have acquired a lot of paper and glitz. So, your kit will contain 5 categories of materials:
Stamp Sets: These will be for stamping on pictures, overlays and journaling cards, so maybe choose a set that reflects you life or your philosophies. The Project Life by Stampin’ Up! sets are ideal, of course, as they were made for this kind of project!
Inks: You will need some Stazon for sure. White might be best, because it shows up better on overlays and photos. Black works well on journaling cards.
Papers/Base Materials: You will need 6 1/2-sheets of coordinating DSP. You may want to include some window sheets for overlays, some coordinating cardstock and maybe some specialty paper, like glimmer paper or the new chalkboard paper.
While you are compiling all of these things, take a minute and cut your paper, so it’s all ready to go, using these cutting patterns:
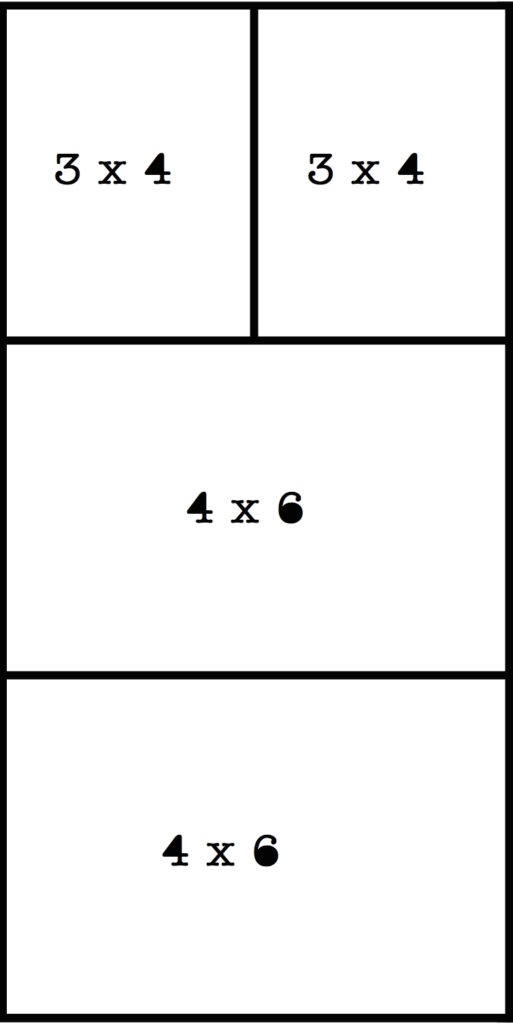
3 (6 x 12) sheets of your favorite DSP
3 additional (6 x 12) sheets of DSP
Chalkboard paper
Window sheet
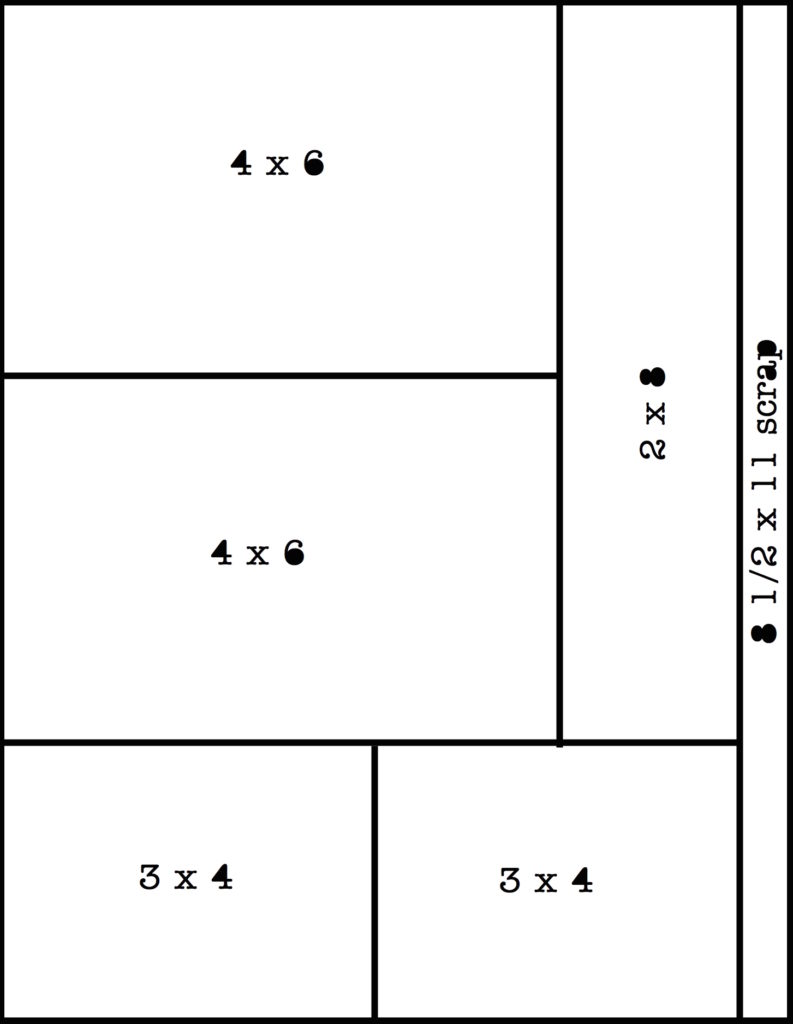
You will want to put these pieces of paper in a baggie—a sandwich bag would work. We used a SU! 6×8 cellophane bag.
Adhesives: Collect your fave way to make things stick. We like to have options, so we included Tombow, snail and dimensionals.
Embellishments/Accessories: Pull together some coordinating embellishments. Be sure to include something sparkley, something colorful and something fun. We put some scraps of coordinating paper in there as well, which we will use to make confetti with some mini punches (but you could even just use a hole puncher!) You might try some sequins, some epoxy stickers and some wooden embellishments. Just gather whatever coordinates with your paper and makes you feel good–and whistle while you work!
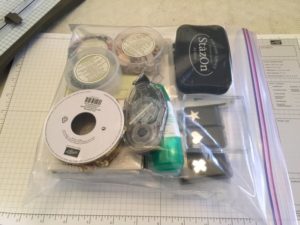
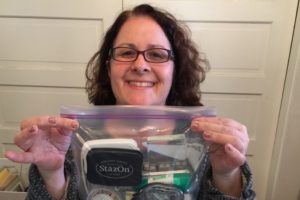
Put the whole shebang in a gallon ziplock bag, so it’s ready to go.
And you’re all set!
See you Saturday!
 Shop with Rach Shop with Rach |
 Shop with Sarah Shop with Sarah |
