Clothespins are handy little fellows, aren’t they? In addition to the traditional use from which they got their name (from the Latin “clothes,” meaning “wet laundry” and “pin,” meaning “make it stick to a rope”), they can be used to categorize sorted papers, to clip little reminders to things, to hold little sacks of treats closed and, when colored and decorated, they make everyone’s life better.
So, of course, we wanted to work with them. And, of course, major embellishment (from the Latin, meaning “color, stamp and glitter the hell out of it.”) was the order of the day.
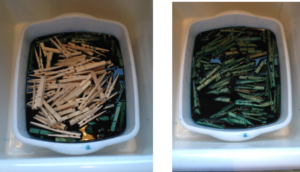
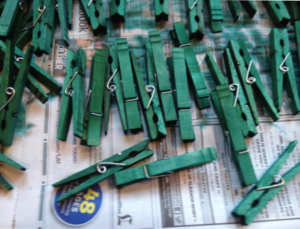
Did you know you can dye clothespins? Well, you can!
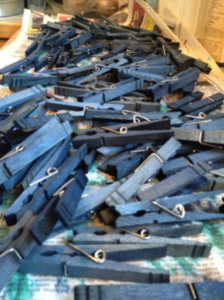 Tip #1: Use the cheapy, liquid Rit dyes. No one will know and the colors work great.
Tip #2: Don’t listen to people who say you have to leave them in the dye bath for an hour. Way too much time! We learned to start checking after only a few minutes.
Tip #3: Take them out in batches (using that old, slotted spoon that you don’t need anymore), a few minutes apart, and you get cool variations in color.
Tip #4: Use the full bottle of Rit with about 1-1/2 gallons of hot water in that old dishpan you have in the garage.
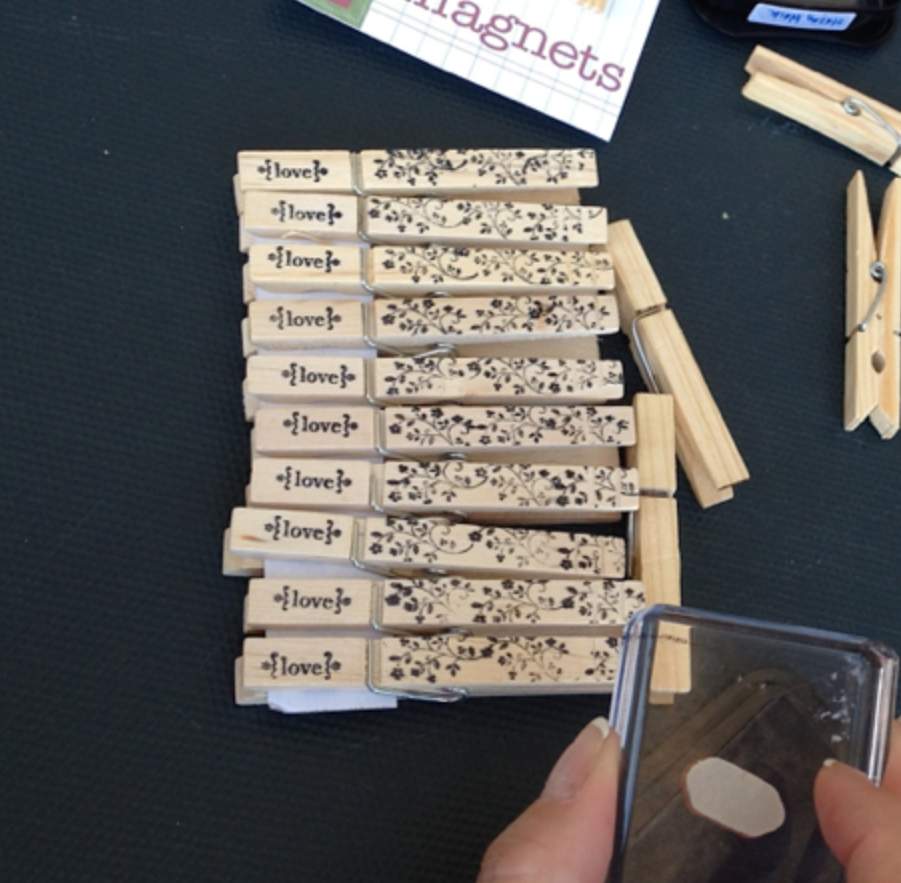
Did you know you can stamp on clothespins?? Well, you can!!
Tip #1: Use black ink on plain clothespins for a sort of shabby chic look.
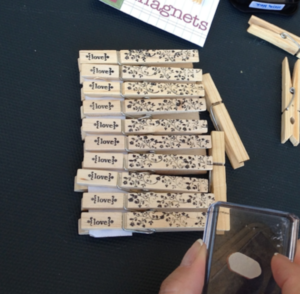
Tip #2: If you are stamping on dyed clothespins and your stamping ink isn’t showing up because the dye is too dark or intense, try embossing it.
Did you know that you can glitter clothespins??? Well, you can!!!
Tip #1: We found that Stampin’ Up! Sticky Strip works great at adhering the glitter and keeping it in place.
Tip #2: Yes! That’s right! better than glue!
Go get ‘em, fellow crafters!
