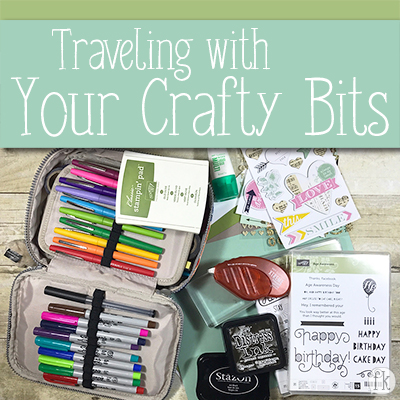
From time to time, especially this time of year, we pack up our families and head to the Great Outdoors (or 5-Star Hotel), for a little time away from it all. But “away from it all” doesn’t have to include your craft supplies, you’ll be happy to know! So, here are our best tips and tricks for traveling with our crafts (which we both do all the time, by the by….)
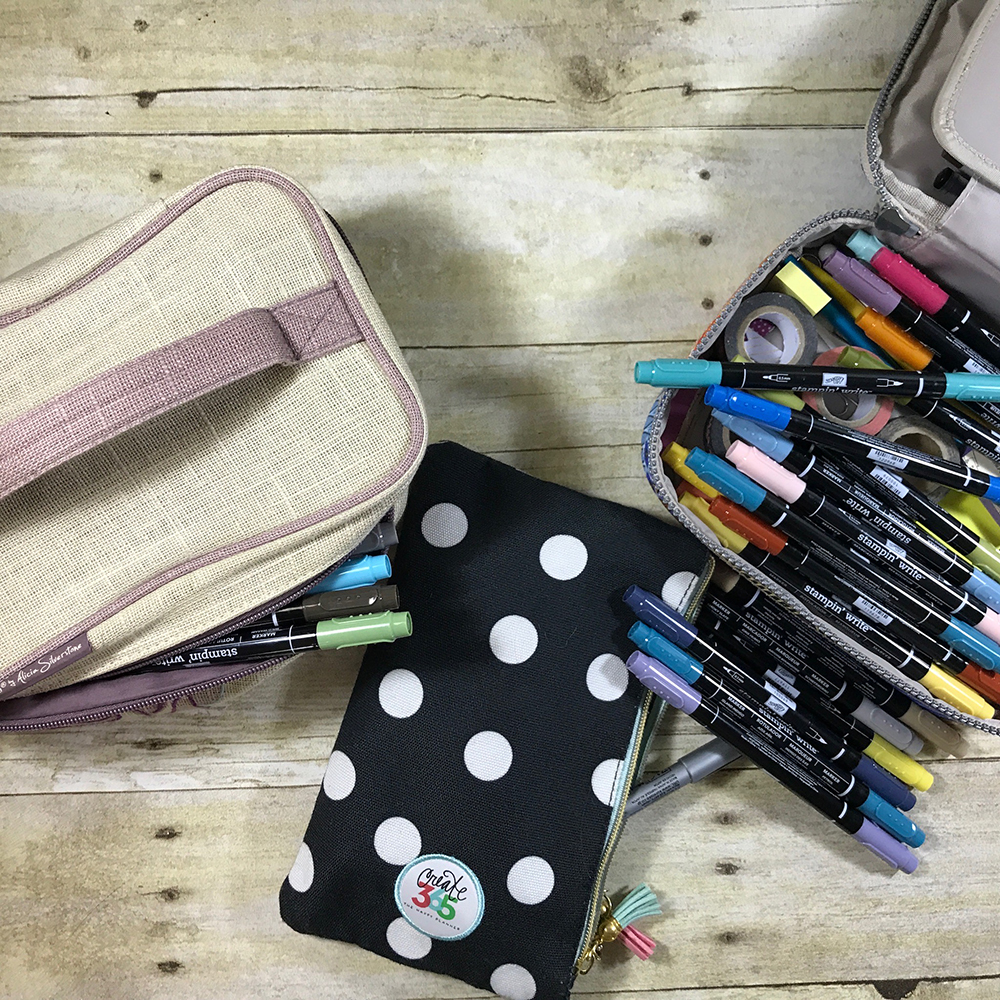 |
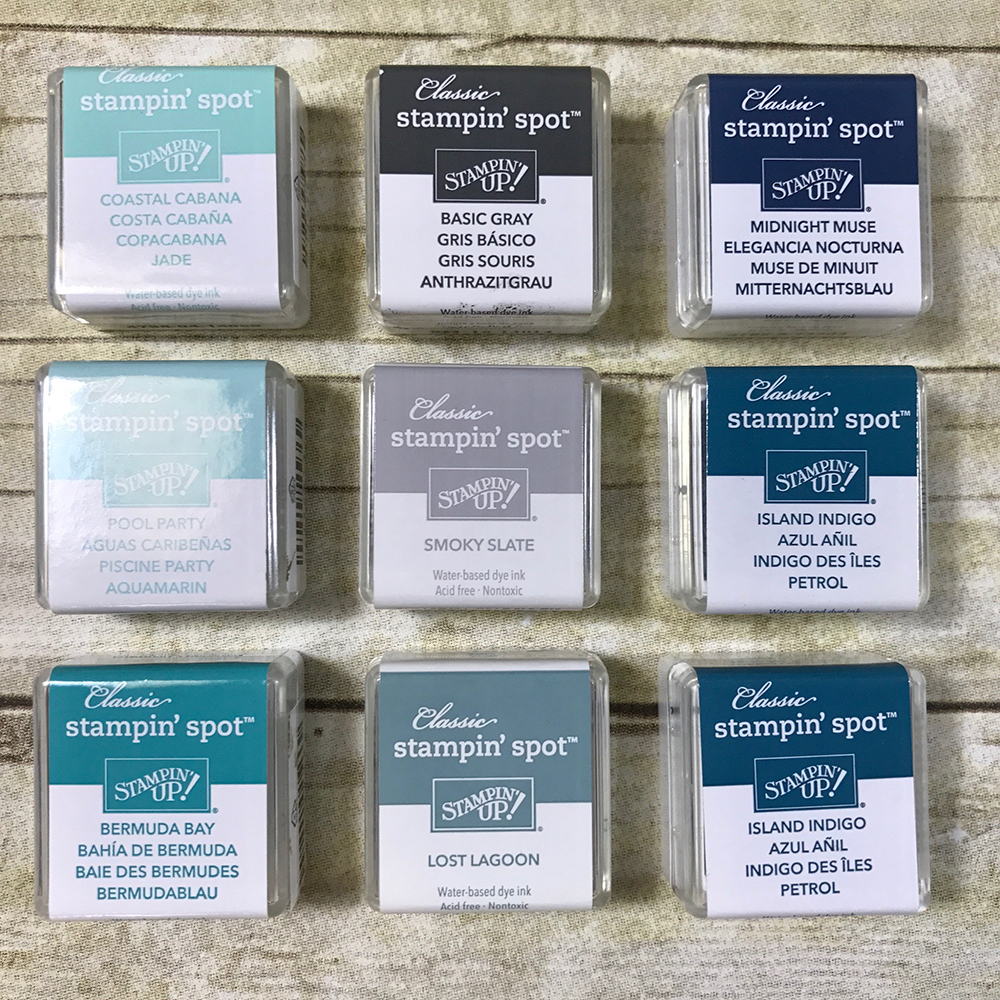
Traveling with your pens, markers, pencils and whatnot really couldn’t be easier. In fact, in our Planning into the New Year with Sarah post, Sarah outlined a strategy for organizing your planner materials, so they are always ready to hit the road. Craft materials are much the same. Our big three are:
|
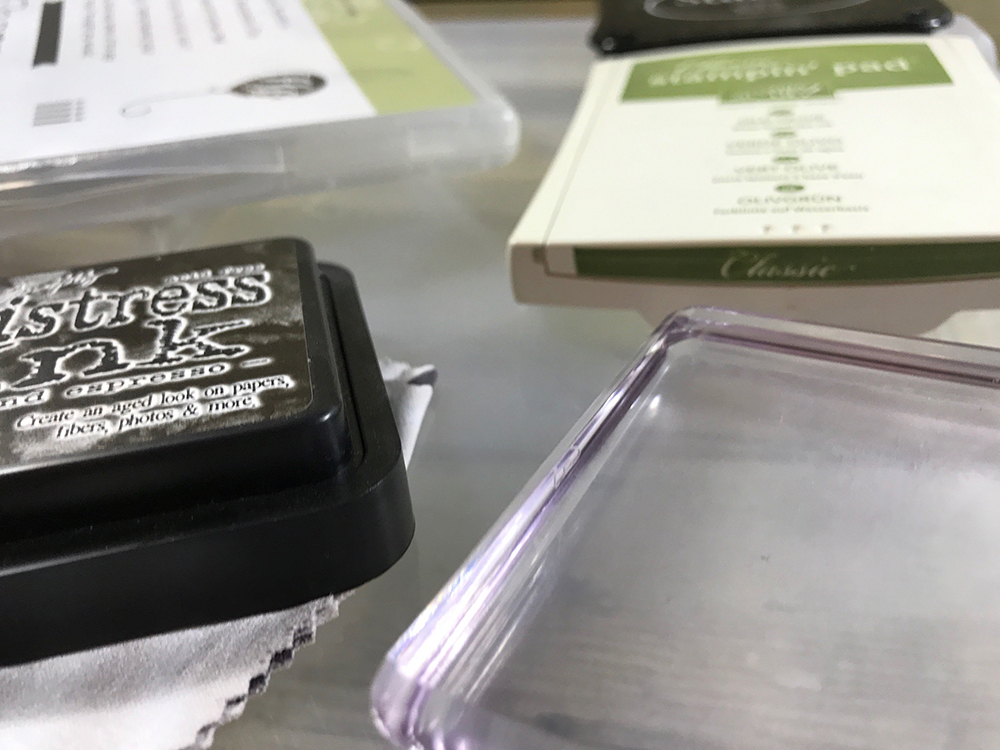 |
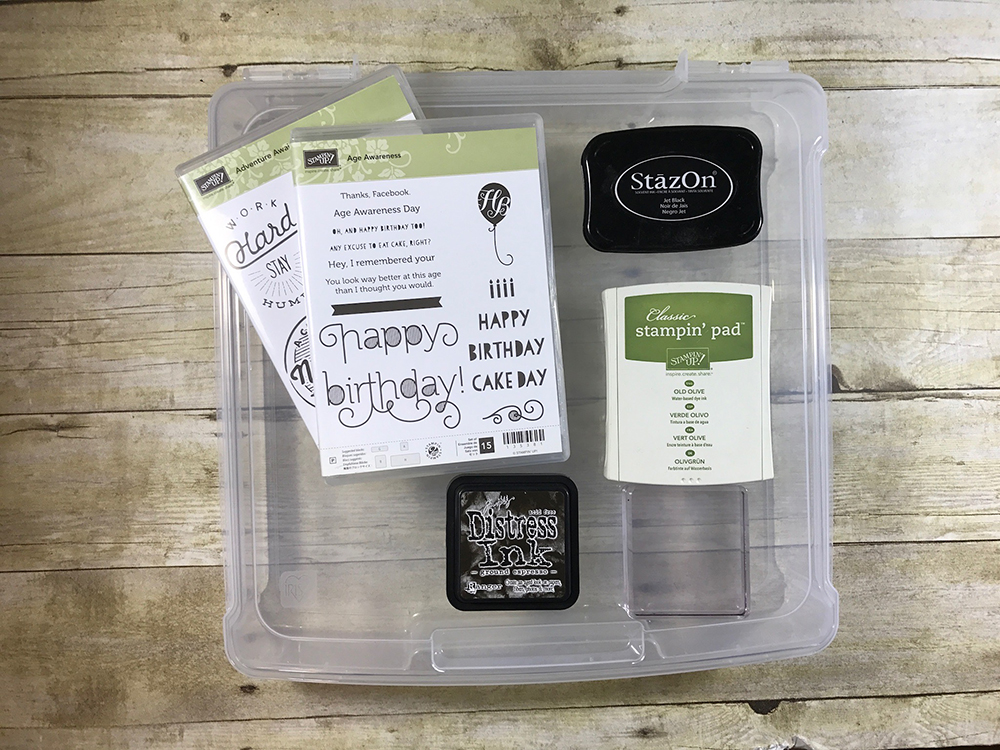
Stamps and ink are a bit trickier, mostly because stamping involves more equipment and is sometimes heavier. Our favorite strategy is:
|
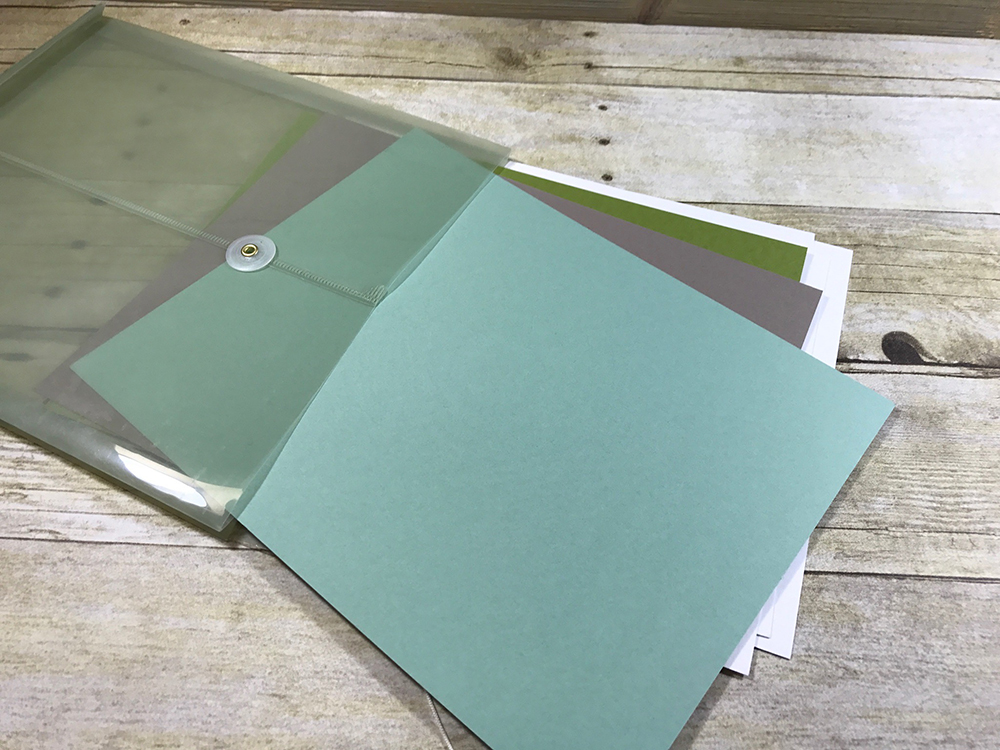 |
Paper and stickers are pretty easy, as long as you pack carefully, so as not to wrinkle or crease them. We like these plastic pouches. Another option is to pack 8-1/2×11 cardstock in your computer bag in a file or alongside your laptop. 4×6 sticker sheets travel well in photo flip books. (If you’d like to see our strategy for organizing and streamlining your sticker stash, look here. |
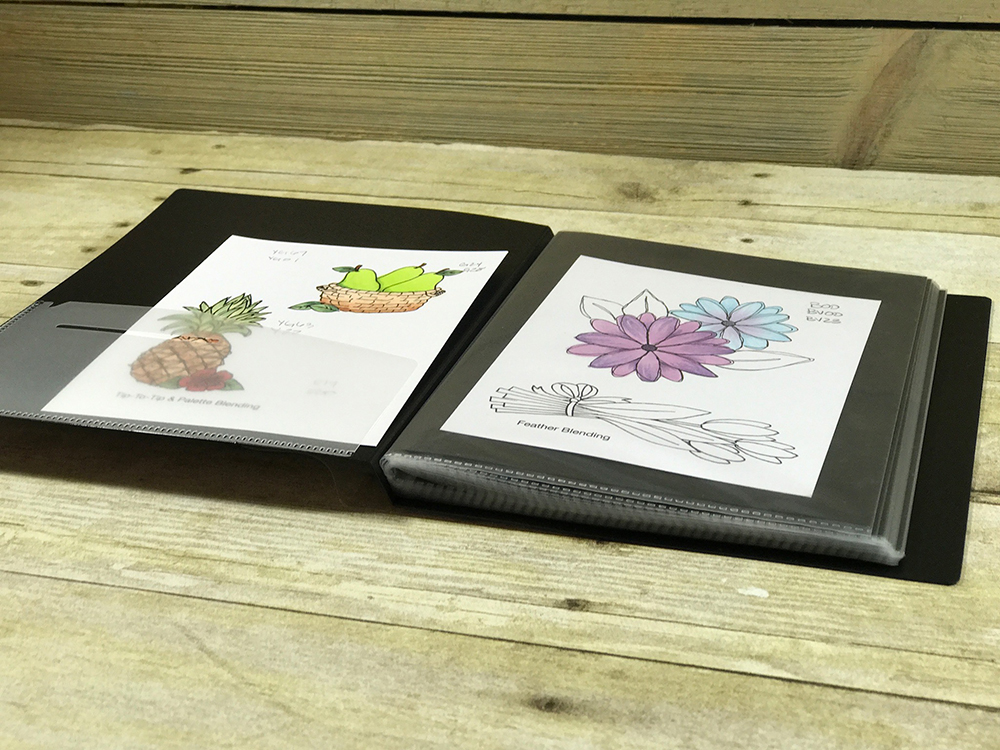 |
If you are planning on card making, it’s best to plan your project ahead and precut as much as you can. Certainly make all your die cuts beforehand, rather than hauling a Sizzix or Big Shot around with you! Those precut items store beautifully in a 4×6 photo flip book. Also, for traveling, you really can’t beat kits, which often provide everything you need (except for maybe snips and adhesive). And, what a coincidence! We carry a few of those. Check out our travel-friendly card kits here. |
 |
For scrapbooking, the most obvious choice is a 12×12 plastic storage box (which we use by the score!) It can fit everything you need, if, as suggested above, you take care of any die cutting before you leave. As with card making, 12×12 kits work great and, yes, we have those, too! See them here. |
One great thing about working with paper is that it does travel so easily. Next time you plan a trip, why not plan a little project to take along with you? Let us know how it goes and, please be sure to share your favorite crafty traveling tips as well. We love hearing from you!
Happy trails, everyone!

Some links on this page are to external sources. We do receive a small amount of compensation from some sites when you link from our site.